Guide
Viking Ice Maker Troubleshooting: Follow the Water, Not the Part
Hollow cubes, a shrinking harvest, or nothing at all. A step-by-step diagnosis for a Viking built-in ice maker, written for houses on a private well.
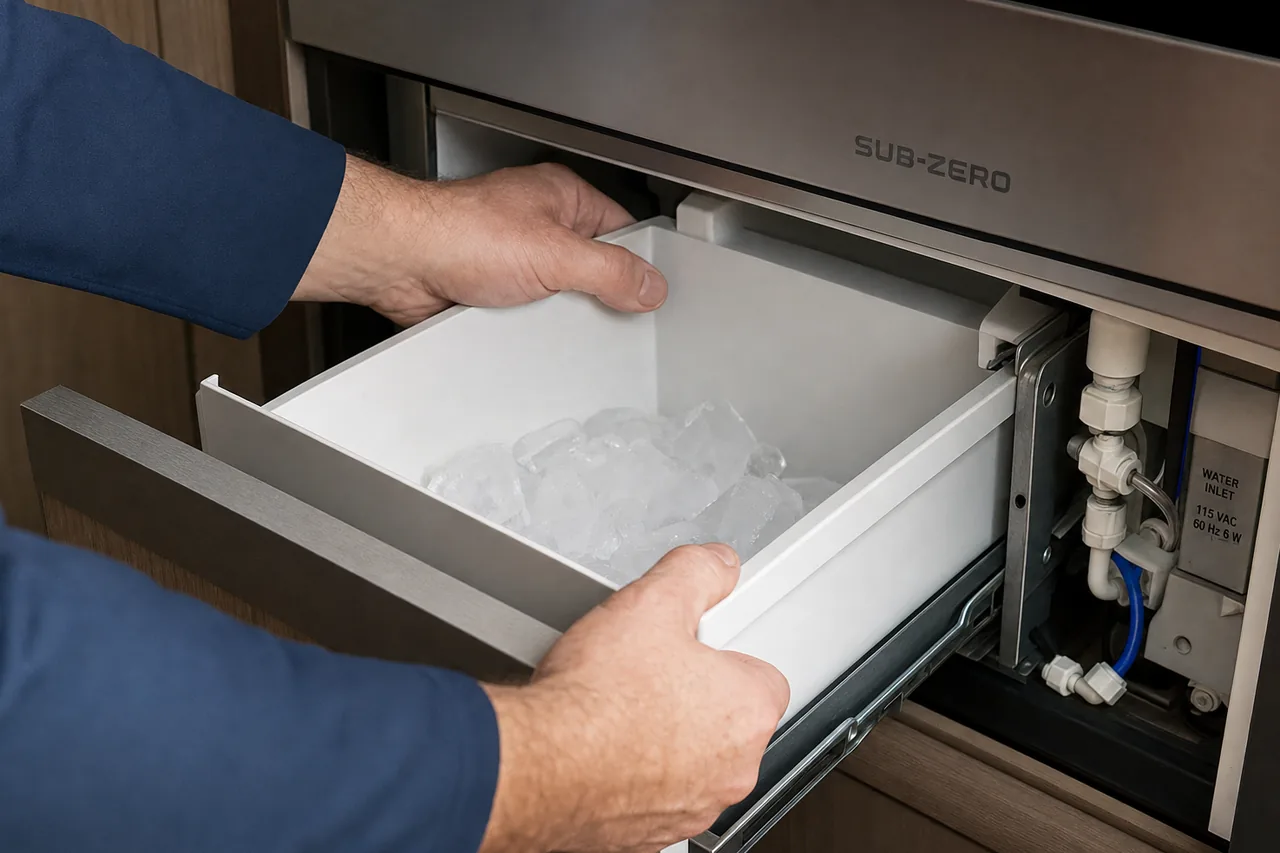
An ice maker is one of the few appliances that tells you where the fault is, if you look at what it produced rather than at the module itself. The shape and quantity of the ice is the diagnostic. Work from that and you will usually get to the cause in ten minutes; start by replacing the ice maker assembly and there is a fair chance you will fit a new one and get the same result.
Step 1 — Rule out the free answers
In that order, because each one costs nothing:
- Is the shutoff arm or switch in the on position? A bail arm gets lifted by a bag of ice and stays there. On models with an electronic switch, check the control panel has not been set to ice off.
- Has the bucket been removed and put back straight? Many built-ins will not run the harvest if the bin is not seated.
- Has the water been off recently? Any plumbing work, filter change, well-pump service or winterising can leave a valve closed or air in the line.
- Is the unit less than 24 hours from installation, a power cut or a defrost? A cold ice maker needs the mould to reach its harvest temperature before the first cycle. Give it a day before calling it broken.
Step 2 — Read the ice
This is the part that matters.
Hollow cubes, or cubes with a crater in the middle. The mould is not getting a full fill. The water path is restricted — a partly closed valve, a clogged filter, low supply pressure, or scale on the inlet valve seat.
Cubes that are small, and getting smaller over months. The same problem arriving gradually. This is the classic hard-water signature: scale accumulating on the valve and in the fill tube slowly chokes the fill volume.
A thin ice plug in the fill tube, and no cubes. The valve is weeping after it shuts. Water dribbles into a freezing tube and builds a plug that eventually blocks the next fill entirely. Melting the plug clears it for a week; the valve is the actual repair.
Cubes are normal but there are far fewer than there used to be. Look at the freezer, not the ice maker. Most built-in mould thermostats will not start a harvest until the mould reaches roughly 0°F / -18°C. A freezer sitting at 10–15°F because a door seal is tired, the condenser is choked, or the defrost system is struggling will make ice slowly or not at all while everything else in the freezer still seems fine.
Cubes are cloudy or taste of the house. That is the water supply, not the machine. Untreated well water carries minerals and sometimes sulphur; ice concentrates whatever is in it. A filter fixes the taste; it does not fix a fill problem.
No water at all and no ice. Go to step 3.
Step 3 — Check the supply, properly
Domestic appliance water valves are generally specified to work between about 20 and 120 psi. A house on mains water sits comfortably in that band. A house in Pound Ridge does not necessarily.
A well system with a pressure tank cycling between roughly 30 and 50 psi already starts near the bottom of the range. Put a loaded whole-house sediment filter and a refrigerator filter in series with it and the pressure at the ice maker’s inlet valve can drop below what the valve needs to open fully in its short fill window. The valve clicks, some water goes in, and you get hollow cubes — with no fault code and no failed part anywhere.
So:
- Change the refrigerator’s water filter if it is over six months old, and change any whole-house sediment cartridge too. On a well these load far faster than the label assumes.
- If the house has a reverse-osmosis system feeding the refrigerator, check whether the storage tank is keeping up. RO delivery pressure is low by nature and an RO tank that has lost its air charge will not fill an ice maker.
- Check the saddle valve or shutoff feeding the line is fully open, not cracked open.
- Look at the tubing run for a kink behind the unit — easy to create when a heavy built-in is pulled out for cleaning and pushed back.
Only when the supply is genuinely good does a failed inlet valve, a failed mould heater or a failed ice maker module become the likely answer.
Step 4 — The freezer side
If the ice is the right shape but there is not enough of it, the refrigeration system is the suspect.
Pull the grille and look at the condenser. In this town that is worth doing twice a year regardless: wooded lots, gravel drives and dogs put far more in a condenser than a suburban house does, and a blanketed condenser raises head pressure, warms the freezer a few degrees and stops the ice maker cycling long before it causes an obvious food problem.
Then check the door. A built-in door that has dropped on its hinges, or a gasket that has gone hard, leaks enough cold to keep the cabinet a few degrees warm — and a few degrees is the whole margin the mould thermostat is working with.
Step 5 — What not to do
Do not pour hot water into the mould. It melts the plug and cracks nothing you can see, and the water runs into the module’s electrics.
Do not chip ice out with a knife or screwdriver. The mould coating and the fill tube are easily damaged, and a scratched mould releases ice badly for ever afterwards.
Do not replace the module first. It is the most expensive part in the chain and the least likely thing to have failed. The valve, the filter, the supply pressure and the freezer temperature account for the large majority of the calls we go to.
The Pound Ridge summary
Almost every house here is on a well, the water is hard, and the pressure band is narrower than an appliance designer assumes. That combination produces one dominant failure pattern in built-in ice makers: scale and sediment slowly strangling the fill, showing up first as slightly smaller cubes and ending as a fill tube full of ice. It is cheap to fix early and tedious to fix late.
If the checks above have not sorted it, call us on (914) 350-6776. We test the fill volume and the valve before condemning anything, and we carry the common Viking and Sub-Zero ice-maker parts on the truck for Pound Ridge calls.